
I was in my 20s the first time I recall trying pierogies, and I exclaimed out loud how preposterous it was that I, the self-proclaimed carb queen, had lived so long without them.
A friend of mine in the Navy, who had grandparents from Slovakia, was appalled at my ignorance of this beloved dish, and made it their mission to teach me not only this, but several more of the treasured family recipes he learned from his mother.
There are, of course, many variations of these dumplings from all over central Europe and Russia. Some common fillings include minced meat, sauerkraut and mushroom, and sweet fillings like berries and curd cheese.
My recipe is for a savory potato, onion and cheese filled version that will make any carb-lover smile.
Like all labor-intensive recipes, when I make pierogies I make a large batch to freeze and store for later. This recipe made about 80 dumplings (which is 8-10 dinner servings).
Ingredients:
For the dough
4 cups all-purpose flour
1 ¼ cup water
3 tablespoons butter
1 teaspoon salt
For the filling
2 large russet potatoes
1 small white onion
4 ounces cream cheese, softened
4 ounces cheddar cheese, grated
Salt and pepper to taste
Directions:
Peel and cut the potatoes into large chunks and boil until tender. Strain and mash thoroughly — no lumps.
Finely dice the onion and saute in a little butter until they start to brown. You want to cook the onions until all the bite has been cooked out.
In a stand mixer with a paddle attachment (or with a spoon and a strong arm) mix the mashed potatoes, onions, grated cheddar and cream cheese until smooth and well combined. Taste and season with salt and pepper and set in the fridge.
In a large bowl combine your flour and salt.
Heat the water and butter in a pan until very hot but not quite boiling, then add immediately to the flour. The texture of the dough in the final product depends on the water being hot at this stage, so do not skip this step or tough dumplings will be your punishment.
Either using a stand mixer with a dough attachment or your hands, knead the dough until smooth, soft and springy. If you’re using your hands, please begin mixing with a spoon until cool enough to handle. In a mixer this should take about 5 minutes. By hand will be more like 10 minutes. Don’t get lazy here either — the proper development of gluten is necessary for stretchy dough and a toothsome texture.
Wrap tightly in plastic and allow to rest for at least 30 minutes.
Prepare your assembly station with a large, parchment-lined tray, your cold filling, a small cup of water (for wetting your fingertips), a clean surface dusted with flour, a rolling pin, and your cookie/biscuit cutter. I used a regular size mason jar ring as my cutter (approximately 2.75 inches).
Cut your dough into four equal portions, take one portion to roll, and wrap the rest in plastic to keep it from drying out while you work.
Roll the dough out to about 1/8-inch thickness.
Cut out your rounds. Try your best to get as many as possible out of this first roll because the dough will be very tough on the second roll and impossible on the third.
Spoon a small amount of filling into your hands and roll into a 1-inch ball.
Use a fingertip dipped in water to wet the edge of half of your dough circle.
Place the ball of filling in the center of the dough and pull one side up and over the ball of filling.
Seal the edge of the dough around the ball using a pinching motion. Be sure there are no large air bubbles or gaps in the seal.
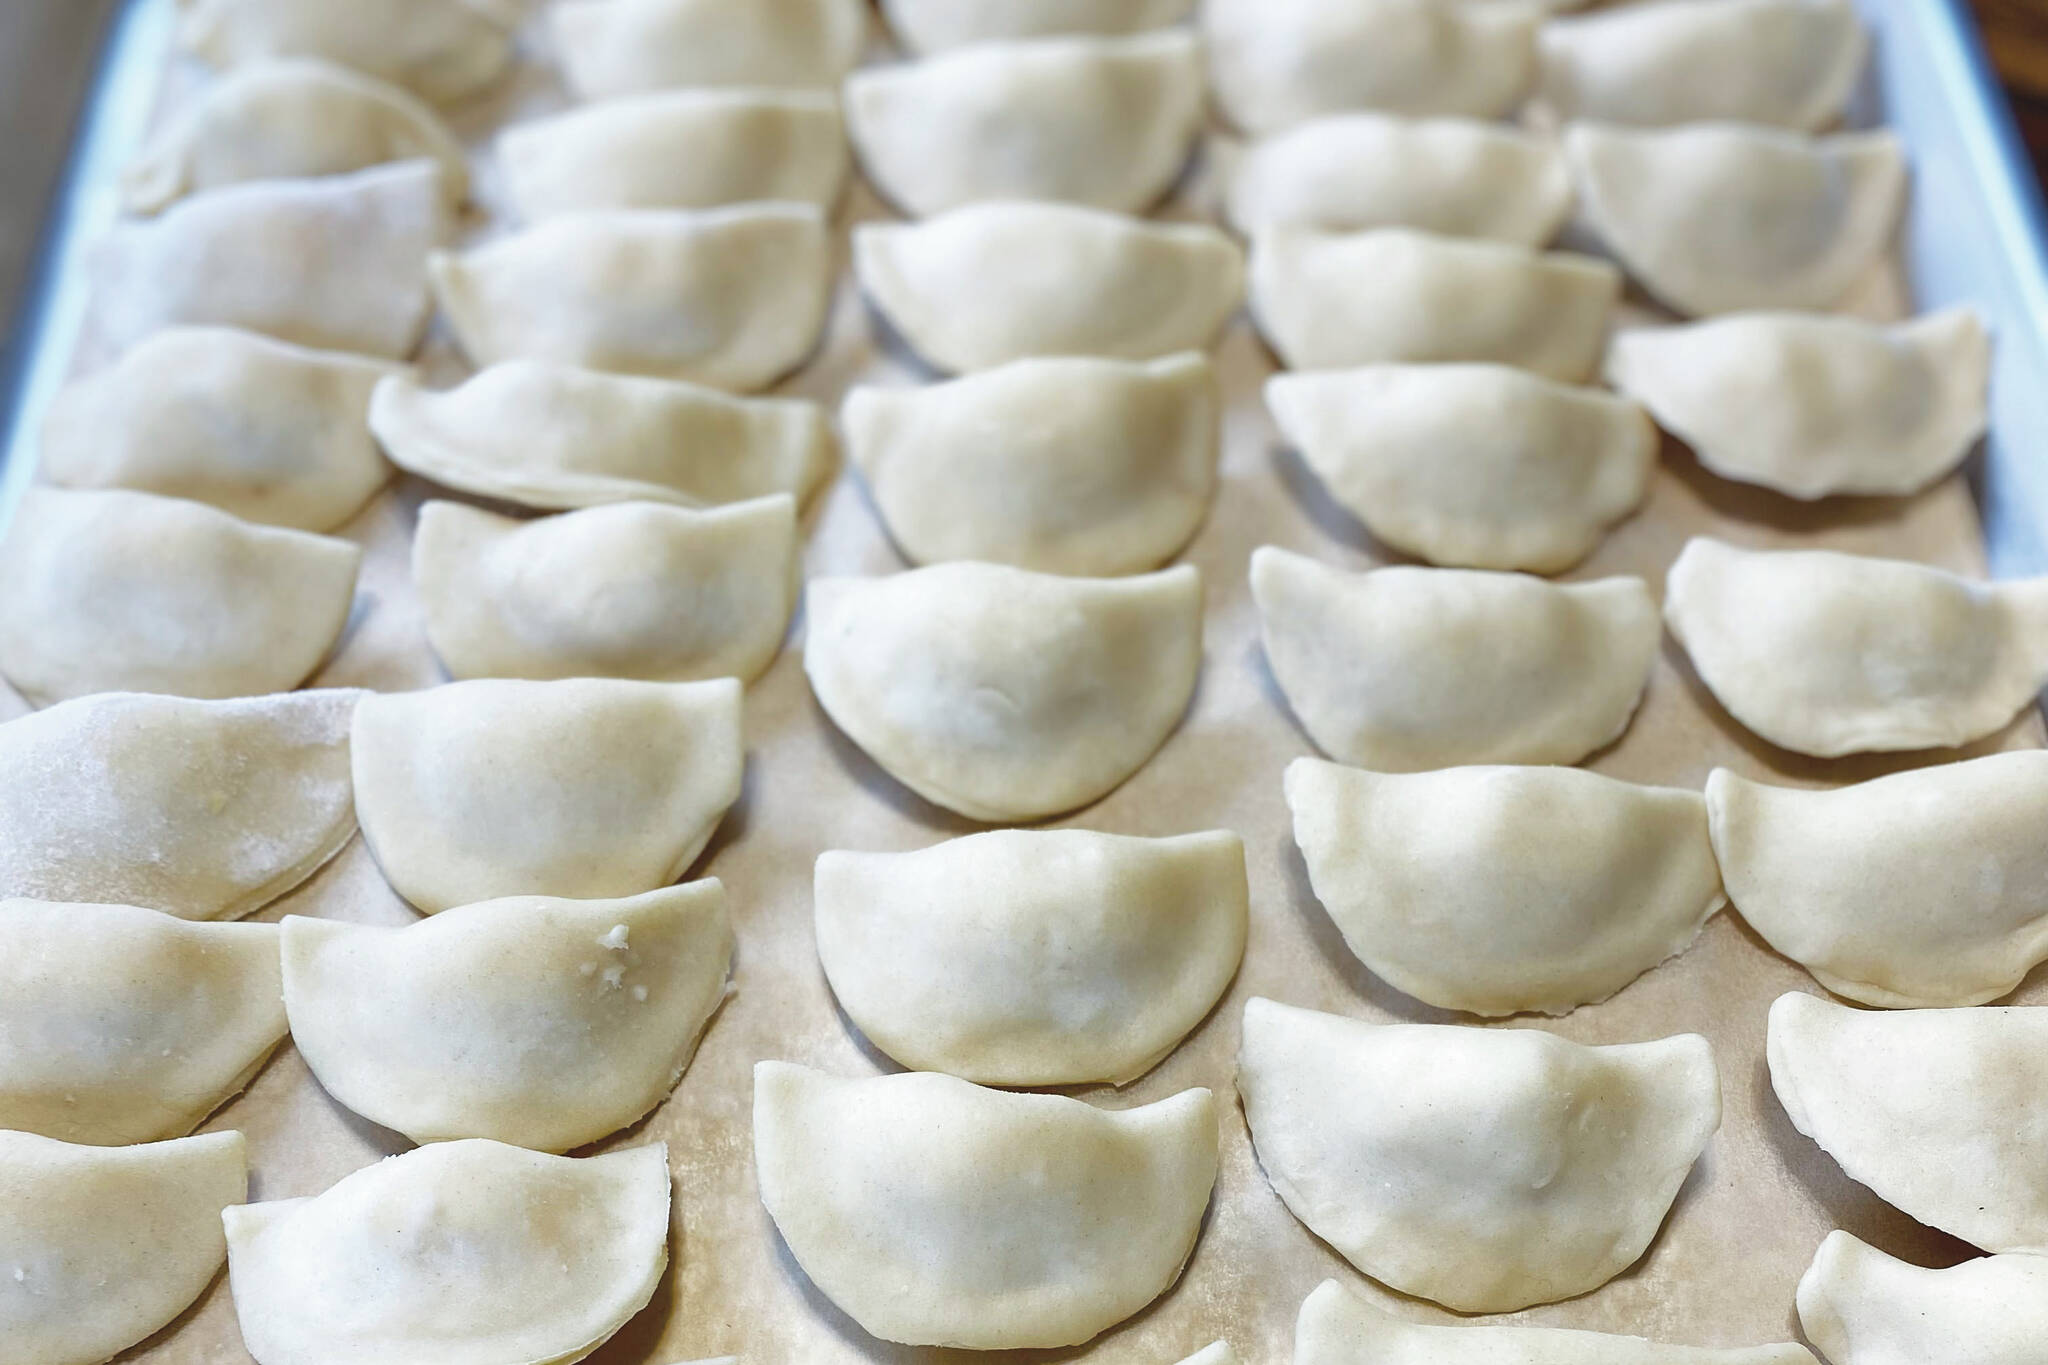
Repeat until all the dough has been used. Freeze them flat on the tray until solid, then transfer to a zip top bag for storage.
To cook: Boil (if frozen, no need to thaw first) until floating, strain, and brush with a little melted butter. Serve with sour cream.
