
Two weekends ago we celebrated the marriage of our Victoria Petersen on a grassy bluff overlooking the Kenai River. The gloom and drizzle finally left us just in time for her to have the sunny summer evening she was dreaming of for her wedding day. She beamed beside her love, a crown of flowers perched atop her shining chocolate curls, and their beloved dog trotted along behind them as they drifted through the crowd at an historic restaurant in Old Town Kenai.
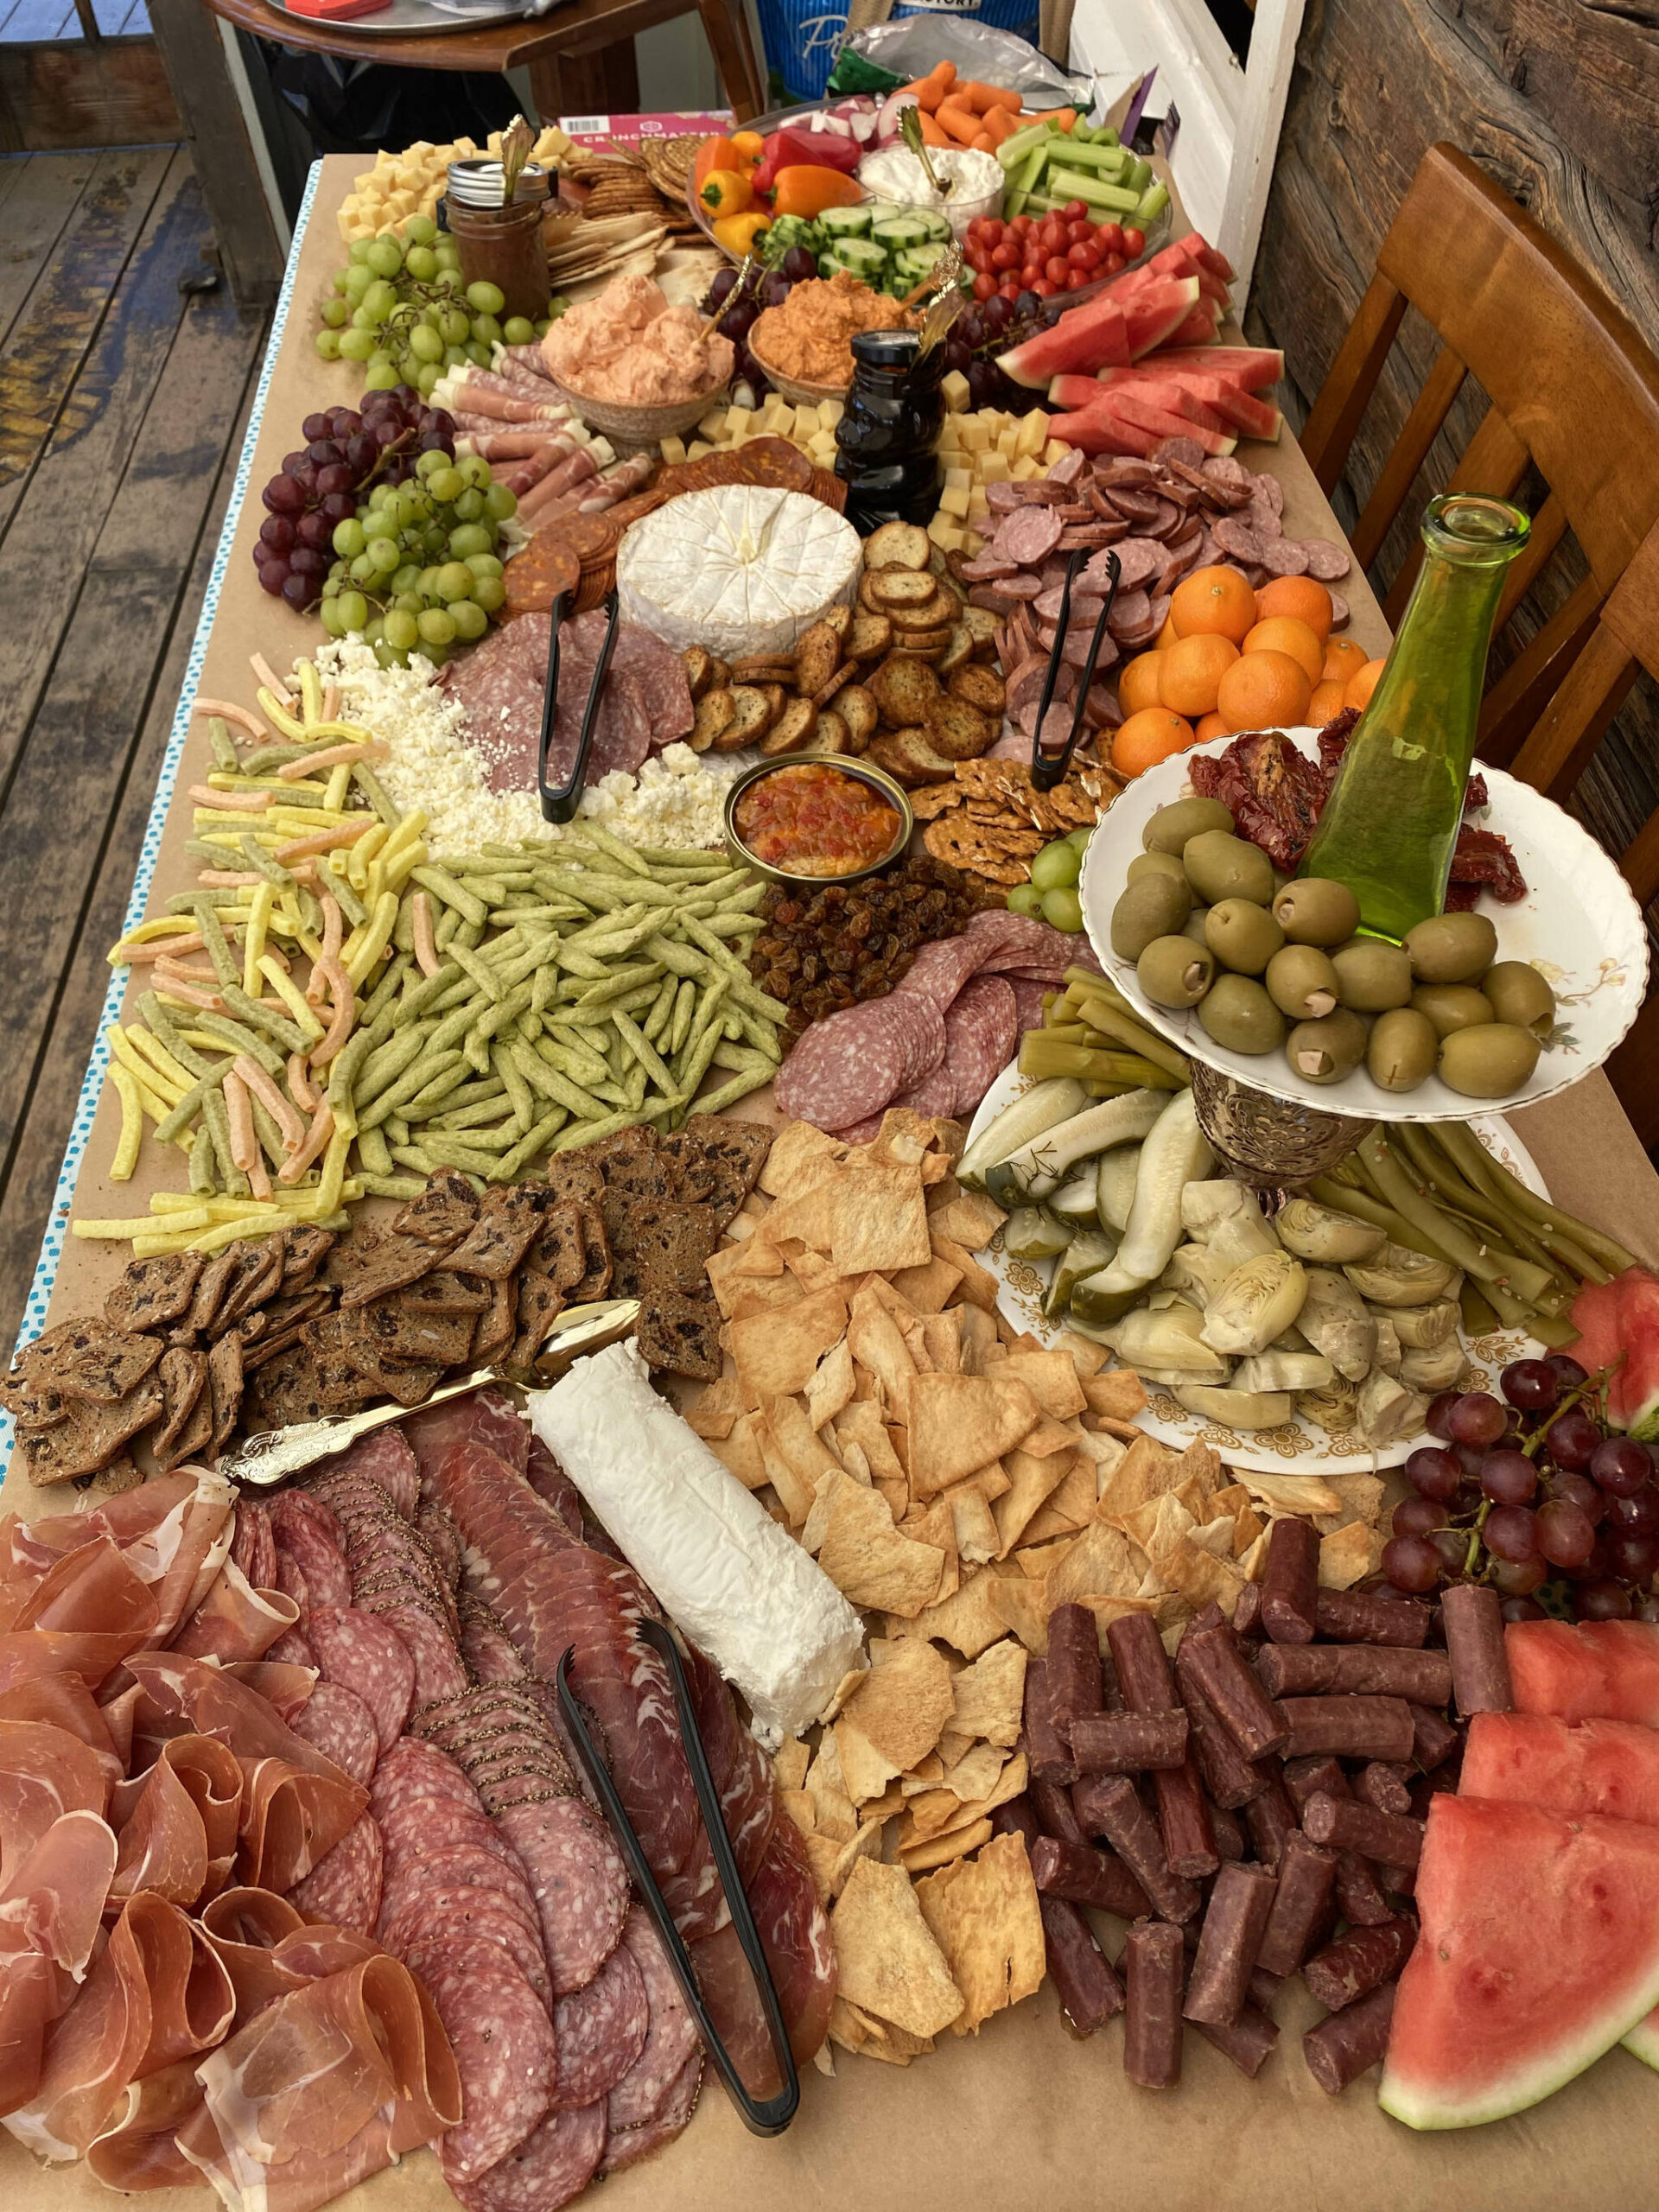
Hours earlier, the restaurant was buzzing with friends and family as we prepared the space for the party. The yard was a blur of chairs and flowers and coolers and speakers, place settings were labeled, each one complete with a handwritten note from the bride, and a custom magazine full of childhood pictures of the bride and groom. I was in the buffet space in the restaurant arranging the bride’s special request — a social media-worthy grazing board to impress her guests. The groom’s mother provided a wealth of cheeses, meats, fruit, crackers and breads, olives, pickles and spreads for me to prepare and artfully arrange to feed the crowd during the cocktail hour.
These massive charcuterie boards, lately referred to as “grazing boards,” are all the rage in the wedding scene right now. Although they look complicated, they are not difficult at all to do, and just by following five simple rules, you too can make an uber trendy spread that is sure to impress.
1. Variety is more important than quantity. Of course, there are a few crowd favorites that you should plan to have plenty of — like cheddar and mild sausage — but it is more important that you have a wide variety of items on the board than it is to have lots of each.
2. Keep the color wheel in mind. Pair contrasting colors next to each other for visual appeal and be sure to select the locations for the brightly colored items thoughtfully. If you notice there is a lot of beige in an area, perhaps the crackers and pretzels are touching, consider dropping a bunch of purple grapes between them, or a swath of bright sweet peppers. If all else fails, a bundle of parsley tucked into the crease will create that visual separation you’ll need to break up the color block.
3. Build up and elevate. Pile abundant items upward instead of spreading them out. Use cake stands and tiered trays on the table to lift and separate items. This creates the appearance of abundance and makes the spread look more luxurious. It can also double to separate dry and wet items. I used a tiered tray to display olives and pickles which kept the chips below free of brine.
4. Pair complimentary items on the board. Make sure there are crackers near the salmon dip, there are grapes next to the brie, there are pita chips near the goat cheese, etc. You don’t need to have a detailed map, but a little thoughtfulness will make the board flow more logically and will make it look professional.
5. Fill in all the gaps. When you are done you should not be able to see any bare space. Overlap against each transition and tuck crackers or grapes or cubes of cheese into every crevice. Stuff the edges with herb garnish so there is no empty space. It isn’t necessary (or wise) to have the food reach the very edge of the table, so start in the center and work your way out, tightly packing as you go.
Congratulations to Victoria and Nate! May your marriage be forever as joyful as that sunny summer evening.
