
At the end of every major holiday and large family gathering, my mother-in-law always winds up with a fridge full of food she’ll never eat. Extra gallons of milk, dozens of eggs, piles of kid snacks and crackers and chips … far too much for two people to eat before they go sour and stale.
Her solution is to bring us a few shopping bags full in the hopes we can run through the excess before they’re wasted. After all our Thanksgiving guests departed, we received a delivery of several gallons of milk nearing their expiration date. My son still drinks a lot of milk, but not nearly that much, so once again I found myself searching for creative solutions.
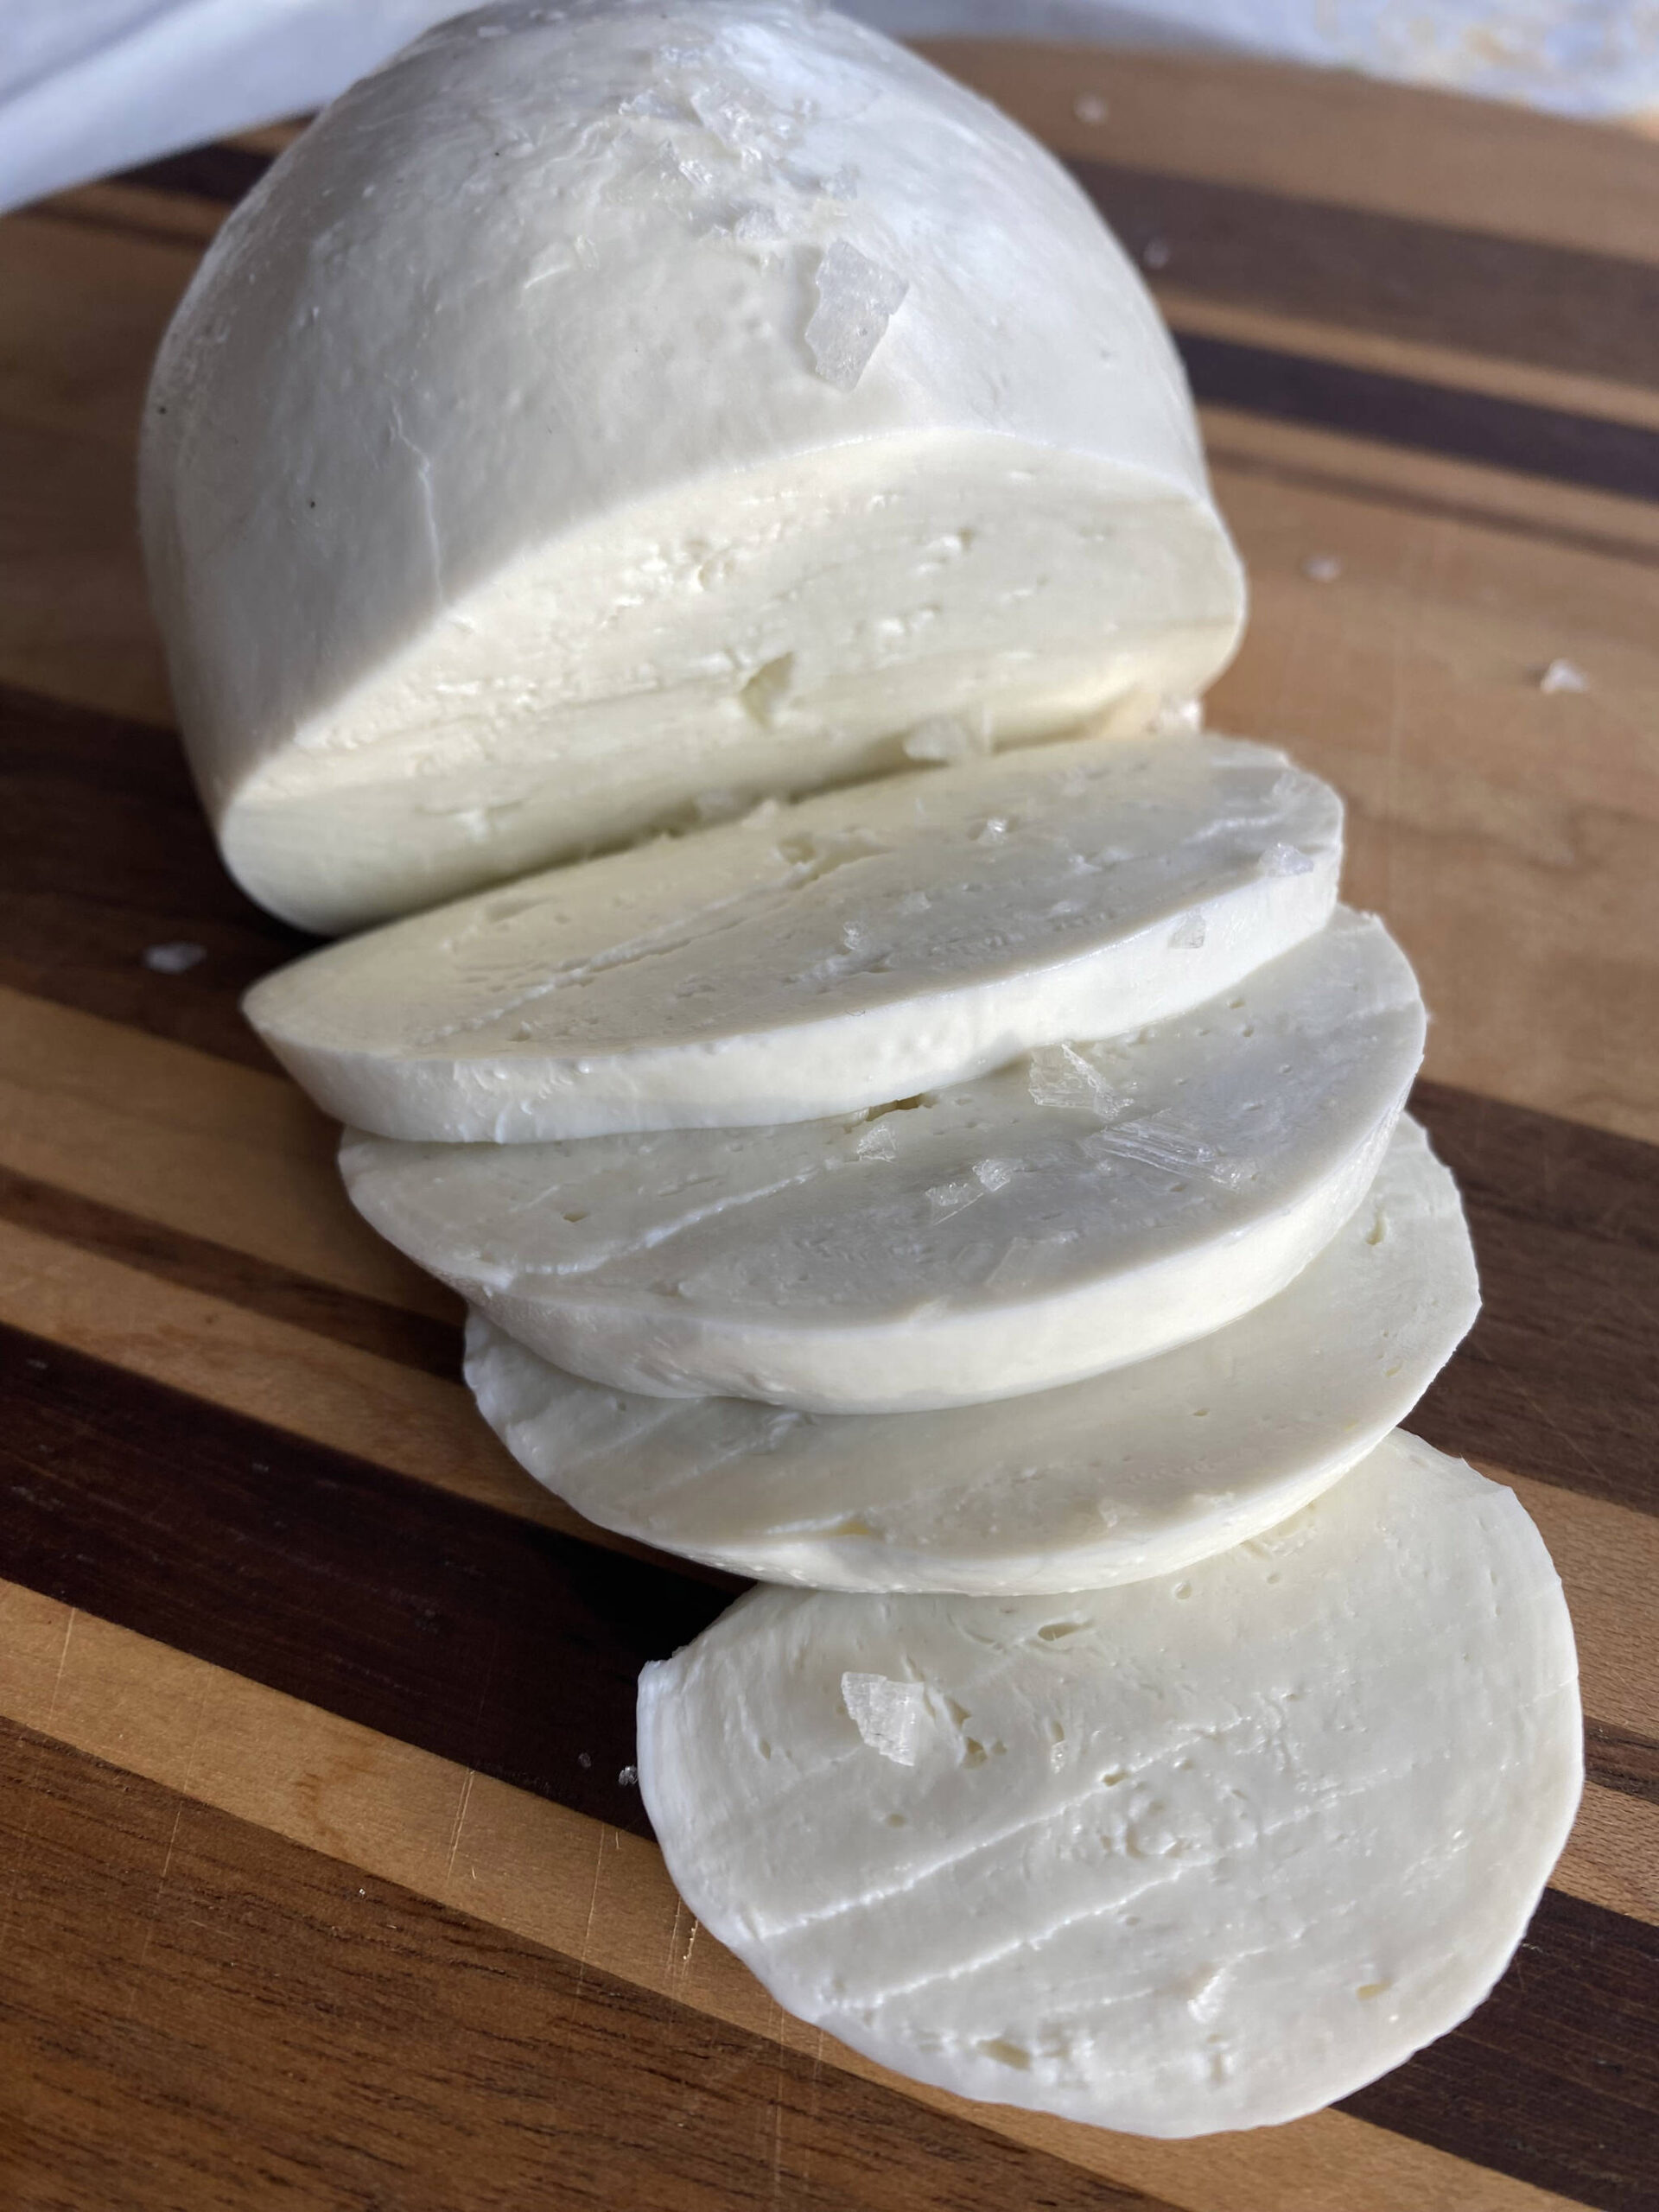
Last time I faced this challenge I made pudding; this time I landed on mozzarella.
I wouldn’t recommend making homemade mozzarella normally because it blows through a whole gallon of milk with not much yield, but if you find yourself with a gallon on its last day, this is a great way to get something your family will actually eat out of something that would just be poured down the drain.
Ingredients:
1 gallon whole or 2% milk (not ultra pasteurized, but standard pasteurized will usually work)
¾ cup plus 2 tablespoons plain distilled vinegar
Directions:
Pour the milk into a large pot and set over medium high heat.
Gently stir the milk as it slowly reaches 115 degrees. I used a candy thermometer to watch the temperature. It is important to stir constantly so the milk heats evenly, so don’t walk away from it.
When the milk reaches 115 degrees, turn off the heat and pour in the vinegar.
Stir just once to combine, then cover and allow to sit undisturbed for 20 minutes.
Use a very clean slotted spoon to separate and scoop out all the curds.
Wrap the curds in cheesecloth and squeeze out as much of the whey as you can.
Put the ball of curds in a microwave safe bowl and heat for 30 seconds.
Remove from the microwave and use your hands to knead the cheese. Drain off any extra whey and return it to the pot.
Heat the cheese again in the microwave for about 30 seconds until the cheese reaches 160 degrees.
Pull and stretch the cheese to develop the texture, then form the cheese into a smooth ball. You might want to reheat the cheese a little to help it ball up smoothly. When it is stretched after it cools the cheese can look ragged.
Once your ball (or several smaller balls — however, you want to serve the cheese) is shaped the way you want, dunk it in ice water to firm it up and set the shape.
Wrap tightly and eat within one week.
The leftover acidic whey can be used for lots of things, so don’t throw it away!
Try using it in smoothies and cocktails/mocktails — the probiotics and acidic bite make it an excellent and nutritious addition to your drinks. You can also use a couple tablespoons at the beginning of the process to accelerate lacto-fermentation for things like sauerkraut and kimchi. If you happen to have chickens, you can use it to supplement their feed, or you could even mix a bit into your dog’s food for a boost of protein and healthy probiotics.
